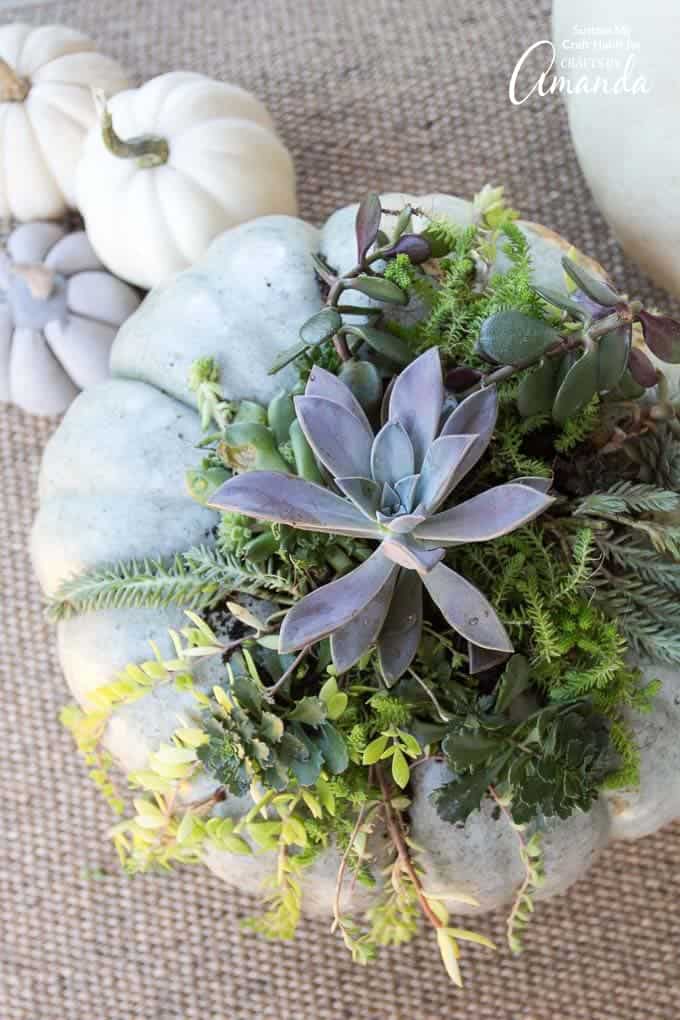
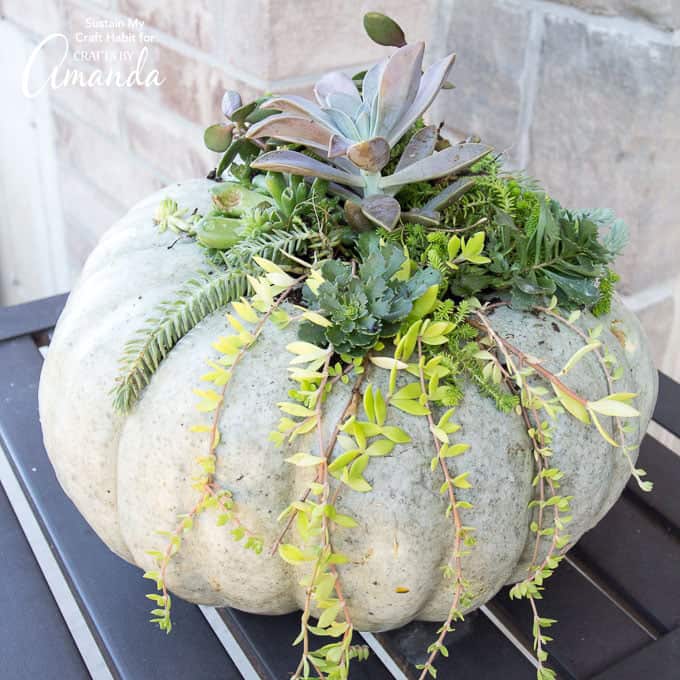
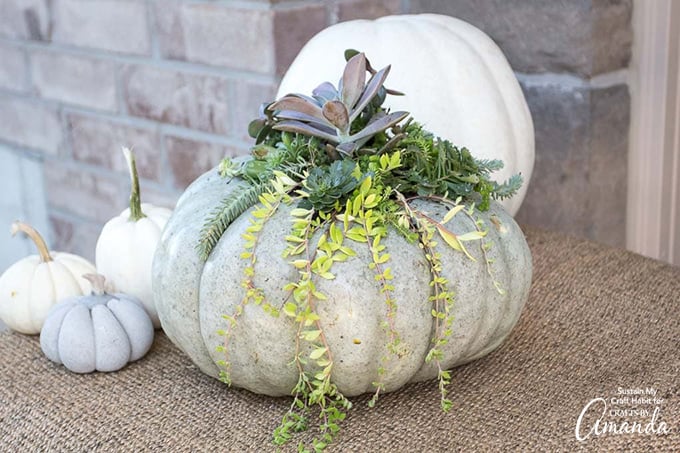
Create your own beautiful and natural DIY succulent pumpkin decor for fall with these easy to follow instructions.
DIY Succulent Pumpkin
I distinctly remember growing up that there was only one type of pumpkin: orange. Now you can find blue, white and even pink pumpkins in addition to the traditional orange. The blue Cinderella pumpkins seemed to be the perfect container for a fresh succulent pumpkin arrangement.
While this project is considerably different from our miniature wine cork succulent magnets, finding new ways to decorate with succulents is always exciting! I recently came across this gorgeous Cinderella succulent pumpkin arrangement from Stone Gable Blog and was determined to make my own.


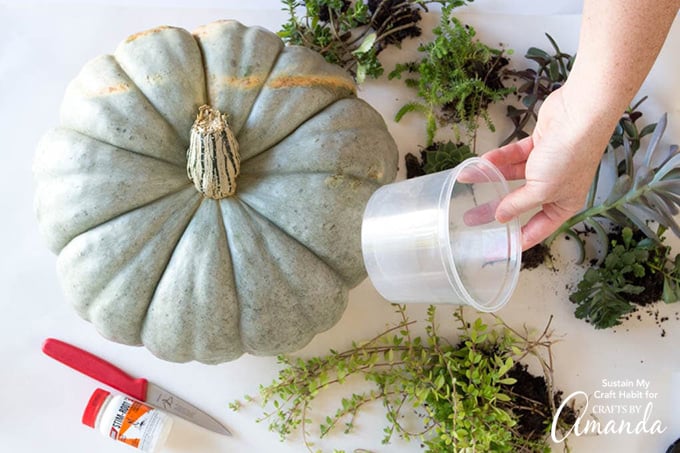
Materials needed for the DIY succulent pumpkin


How to make a fresh succulent pumpkin
- Begin by washing the outside surface of the pumpkin to remove any dirt and let dry.
- Use a pen or other writing utensil to outline the shape of the container that will be used to hold the succulents.
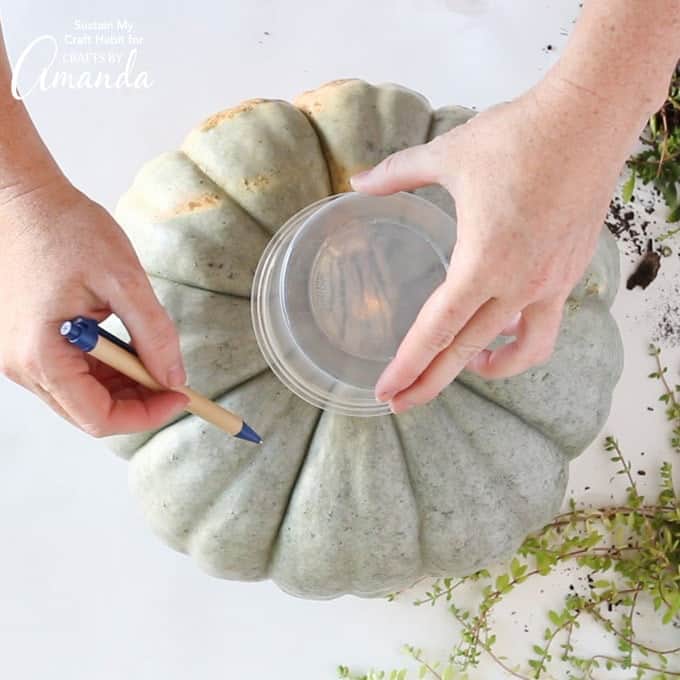


- Using the paring knife carefully cut out the top of the pumpkin using your markings as a guide.
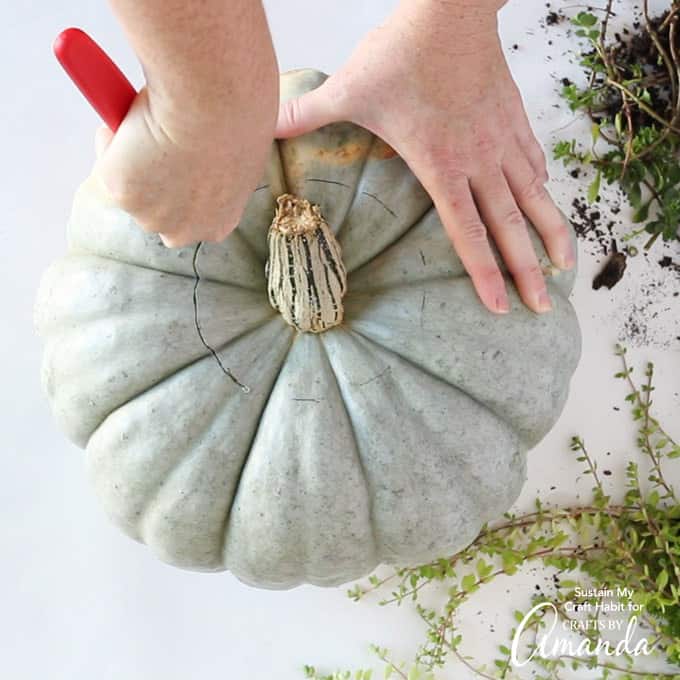


- Remove the top flap of the pumpkin that you just cut out and discard.
- Use the spoon or your hands to scoop out all the seeds from the inside of the pumpkin.
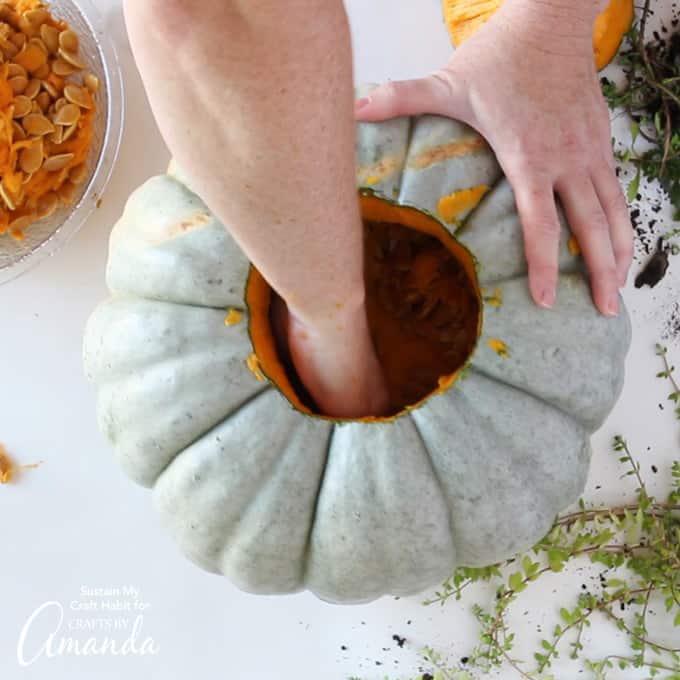


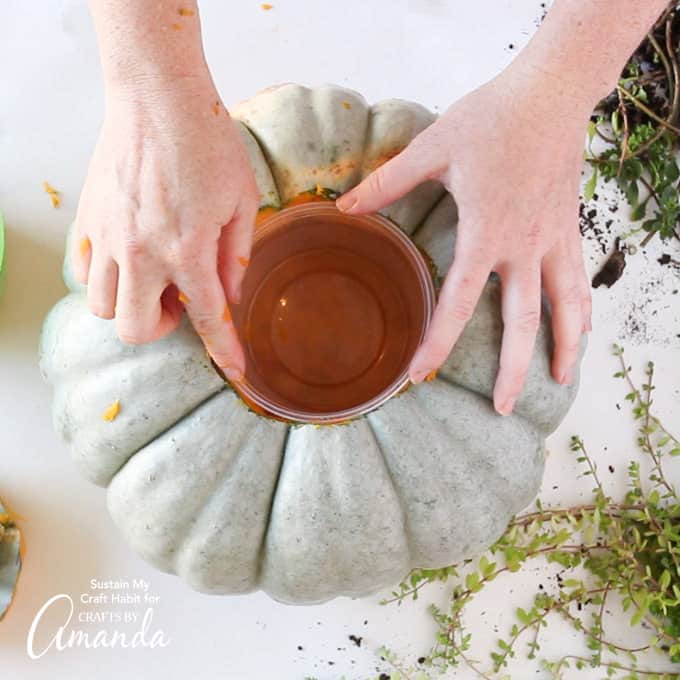
- Once the inside of the pumpkin is all cleared out place your container inside the opening. Ensure that it doesn’t fall right into the pumpkin as it needs to just sit on the top of the surface. You can place a large stone in the pumpkin if needed for height and additional weight.


- Start planting your succulent arrangement. Begin by placing some pebbles or activated charcoal to provide drainage at the bottom of the container.
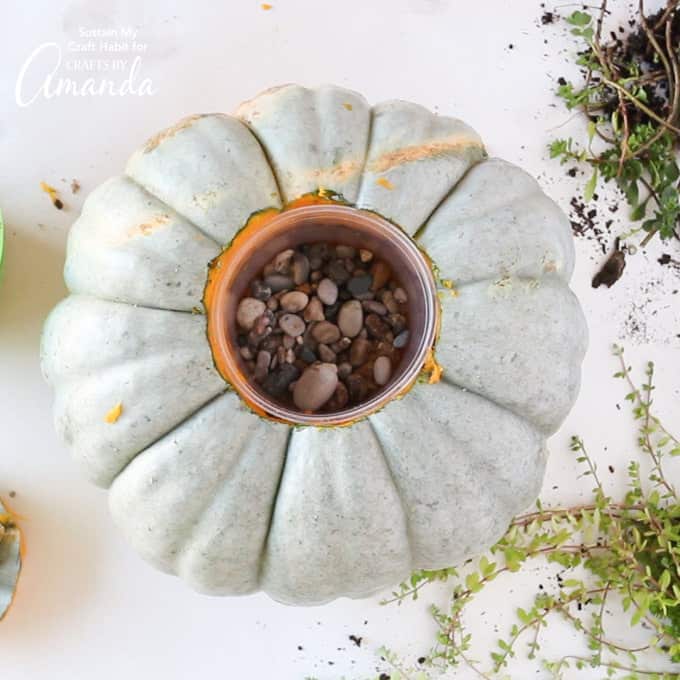


- Fill the container to the top with loose succulent potting soil.
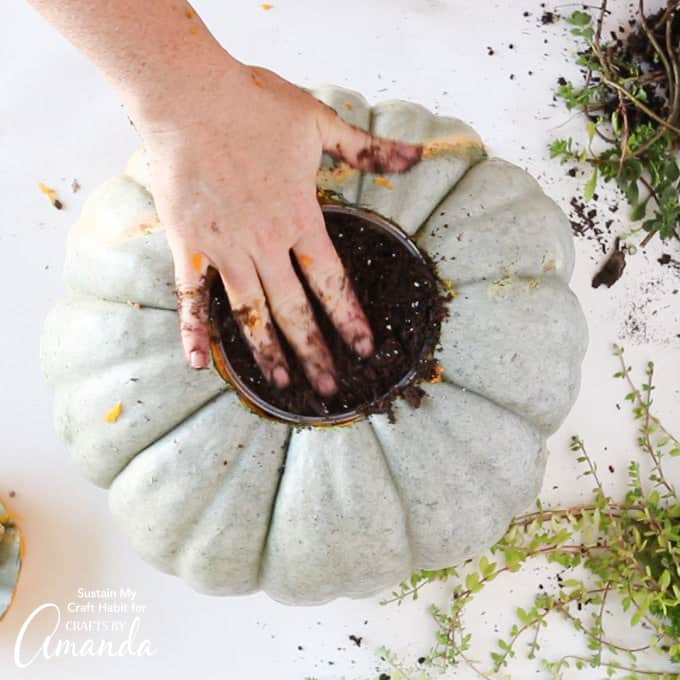


- Carefully plant the largest focal point succulent into the center of the container.
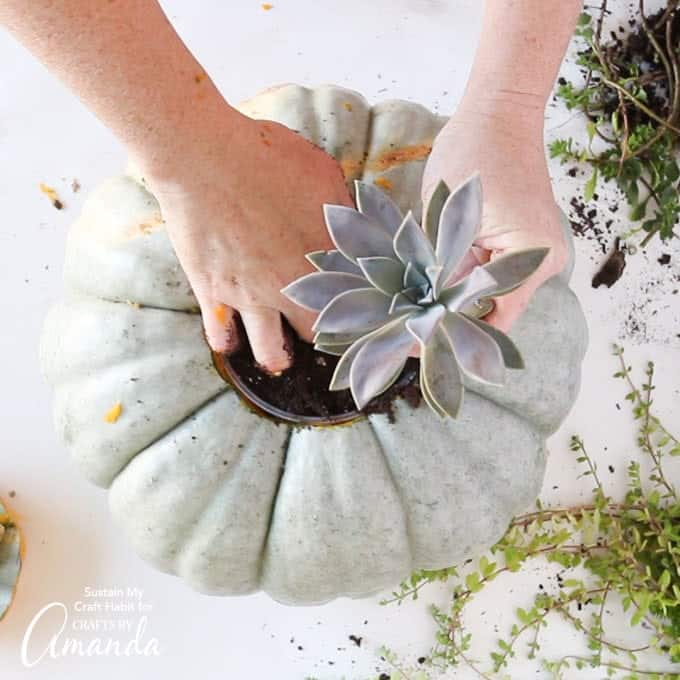


- Continue expanding the arrangement by placing a variety of other succulents around the center one.
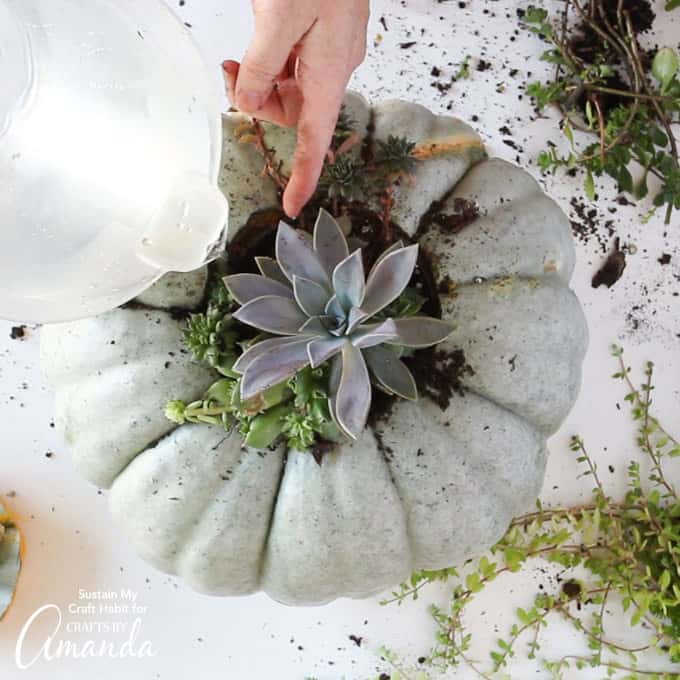


- Thoroughly water your new succulent arrangement.
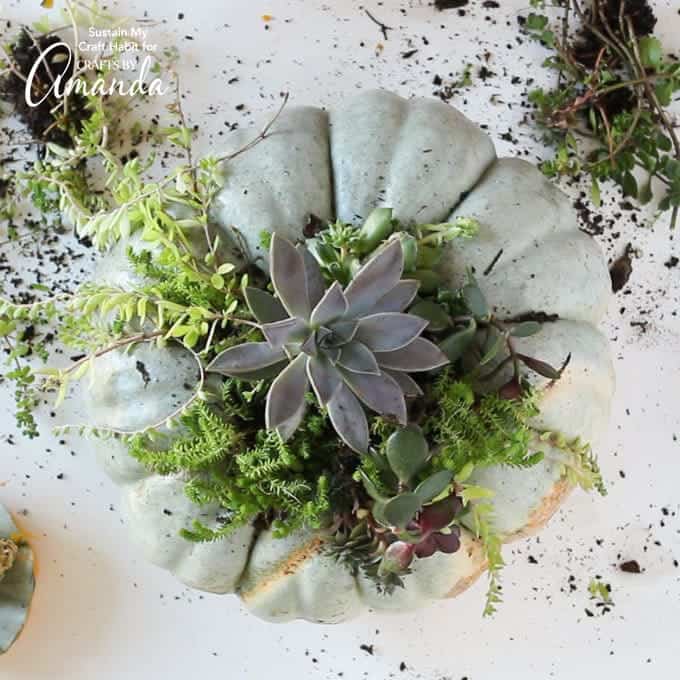


Caring for your Succulent Pumpkin
I feel like this Cinderella pumpkin succulent arrangement turned out completely magical. Since it is a fresh pumpkin it will only last about two weeks and then you can compost it.
However, you can take out the container with the succulent arrangement first, and place it in a different planter to continue growing. For a longer lasting succulent pumpkin decor, you may choose to use a plastic or foam pumpkin instead.


More Pumpkin Crafts
I just love the non-traditional blues greens and soft purples as an alternative color palette for Fall. Last year I created a set of watercolor painted pumpkin place cards in similar modern hues which you can download to use for Thanksgiving.
- This burlap pumpkin wreath is perfect for fall & all the way through Thanksgiving. You can also use this to make a plain burlap wreath to embellish however!
- You’ve probably seen the masses of canning lid pumpkins floating around the internet, but did you know how easy they are to make? Find out how to make these mason jar lid pumpkins to display on your Thanksgiving table or on your mantle for the season!
- And lastly, reversible scrap wood pumpkins – decor for fall all the way through winter!
DIY Succulent Pumpkin Decor
Create your own beautiful and natural DIY succulent pumpkin decor for the Fall.
Supplies
- Fresh medium sized Cinderella pumpkin
- Pen
- Sharp paring knife
- Spoon
- Bowl or other container that was fit inside of the pumpkin
- Pebbles or charcoal for drainage
- Potting soil for succulents
- Various succulents of different sizes and colors
Instructions
-
Use a pen to outline the shape of the container that will be used to hold the succulents.
-
Cut out the top of the pumpkin using your markings as a guide.
-
Remove the top flap of the pumpkin and discard.
-
Scoop out all the seeds from the inside of the pumpkin.
-
Place your container inside the opening.
-
Place some pebbles or activated charcoal inside the container.
-
Fill the container to the top with loose succulent potting soil.
-
Plant the largest focal point succulent into the center of the container.
-
Continue planting a variety of other succulents around the center one.
-
Water the freshly planted succulents.
This post originally appeared here on Oct 22, 2018.


