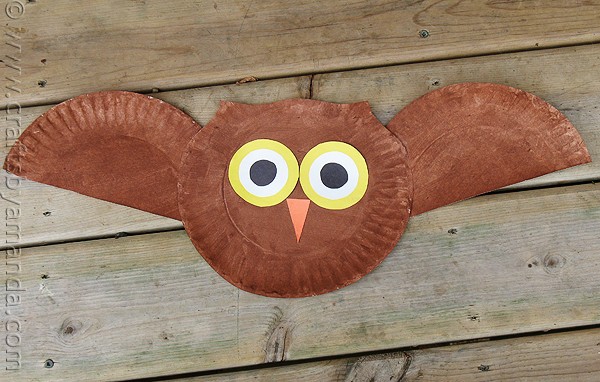
Owl crafts are just too cute to resist. This super easy paper plate owl is great for young children, even the youngest of little ones can help if a grown-up cuts out the pieces for them!

Why we love this project
This paper plate owl is one of the many easy crafts for kids that your children can make any time of year. However, it seems that we talk about owls a lot during the fall season. Whether you have an owl unit in school or your kids just watched Harry Potter, this paper plate owl is a great project.
Craft supplies you will need
How to Make a Paper Plate Owl


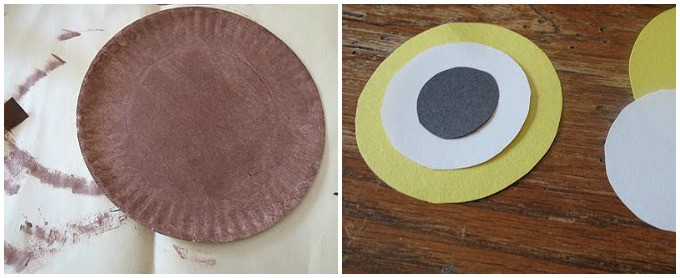
Paint the paper plates brown and let dry. You can download the pattern for this (see the printable version of this craft at the end of this post) then trace the patterns onto the construction paper as follows:
- 2 large circles – yellow
- 2 medium circles – white
- 2 small circles – black
- 1 triangle – orange
- Cut out the patterns. Glue the white circle to the center o the yellow circle, then glue the black circle to the center of the white circle. Repeat.
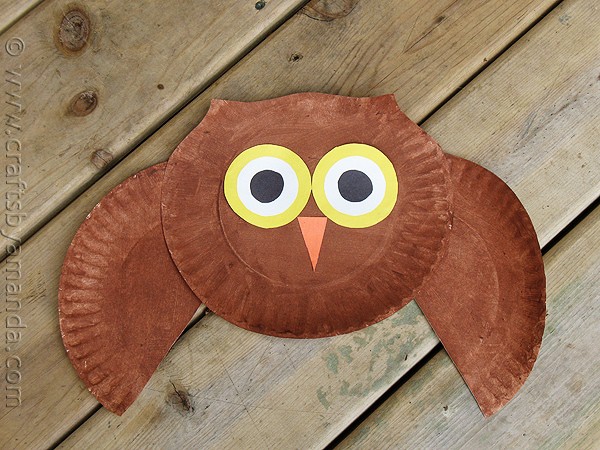
- Cut one of the paper plates in half for the wings. Trim the top of the remaining paper plate to form two ears at the top.
- Glue the eyes to the front of the plate and glue the beak directly below the eyes. Glue the wings to the back of the body plate.
- You can tape a piece of yarn to the back to create a hanger if you wish.


I hope you have fun crafting up this adorable owl! Kids can choose the color of their owl or add brown or black stripes as they wish. It’s a great opportunity to teach them about this beautiful animal!
More Paper Plate Crafts
Check out all of my paper plate crafts!
Paper Plate Owl Craft
This super cute owl is fun to make, and if you wanted to, you could even makes the wings movable!
Supplies
- 2 paper plates
- brown craft paint
- paintbrush or sponge
- construction paper in yellow, white, black, and orange
- glue stick or craft glue
- scissors
- owl patterns
Instructions
-
Paint the paper plates brown and let dry.
-
Trace the patterns onto the construction paper as follows:
-
2 large circles – yellow2 medium circles – white2 small circles – black1 triangle – orange
-
Cut out the patterns. Glue the white circle to the center of the yellow circle, then glue the black circle to the center of the white circle. Repeat.
-
Cut one of the paper plates in half for the wings. Trim the top of the remaining paper plate to form two ears at the top.
-
Glue the eyes to the front of the plate and glue the beak directly below the eyes. Glue the wings to the back of the body plate.
-
You can tape a piece of yarn to the back to create a hanger if you wish.
This post was originally published on this blog on June 22, 2010


