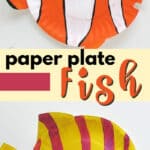
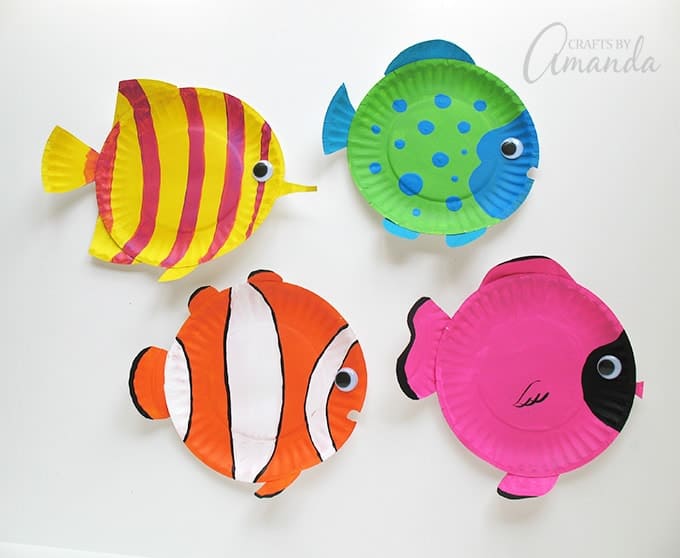
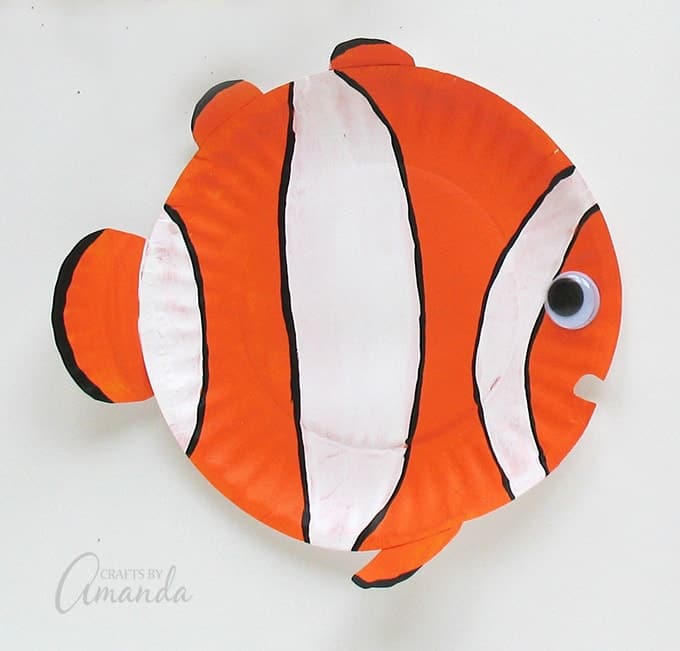
These paper plate tropical fish have bright and vibrant colors and are oh-so beautiful! With spring and summer in full bloom, it seemed a fitting time to share this fun paper plate craft your kids will love.


Why we love this project
There are so many different ideas when it comes to making your own fish, let the kids have fun and create their own species! These paper plate tropical fish are a great way to add a nice color pop to your kids room or even the refrigerator.
These cute and cheery paper plate tropical fish will spark your children’s imagination. I’ve certainly done my fair share of paper plate crafts, like this Paper Plate Aquarium, and they always seem to be an exciting thing for kids to create. I especially think these are great as a summer camp craft or something fun to do on a rainy day.


Helpful Project Information:
- Age Level: 6 and up
- Mess Factor: Medium (paint)
- Level of Difficulty: Medium (scissors)
- Time to Complete: 30 minutes
- Cost Estimate: Less than $5.00


Craft supplies you will need
Get full list of supplies and directions in the printable version at the end of this post.
I’ve included the patterns that you’ll need (pattern 1 and pattern 2) as well as the paint colors that I used, but you can certainly use any colors you want to make your fish your own. Listed below are the individual exact paint colors used in the project pictured. There’s also an acrylic craft paint sampler set which is a good deal and great paint for kids!


How to Make Paper Plate Tropical Fish
These step by step photos and instructions are here to help you visualize how to make this project. Please scroll down to simply print out the instructions!
- Use the patterns to trace the fins and mouths onto paper plates. Then paint the pieces before cutting them out as well as painting full plates for the bodies. When they are dry, you’ll cut those pieces out.


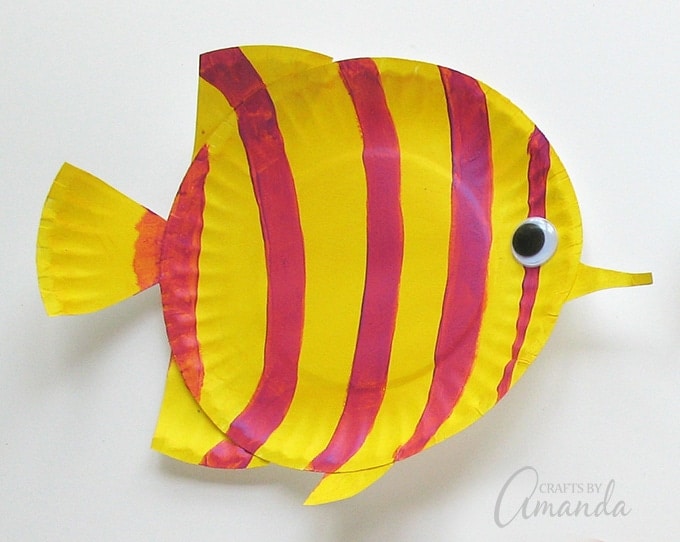
- After you assemble the tropical paper plate fish then you can decorate with stripes, polka dots, googly eyes, and anything else you like!


Expert Crafting Tips
- Polka dots are easy to make by dipping the handle end of a paintbrush into the paint and drawing a circle with it. You can also use the pencil of an eraser or those spouncer sponges you get from the craft store.
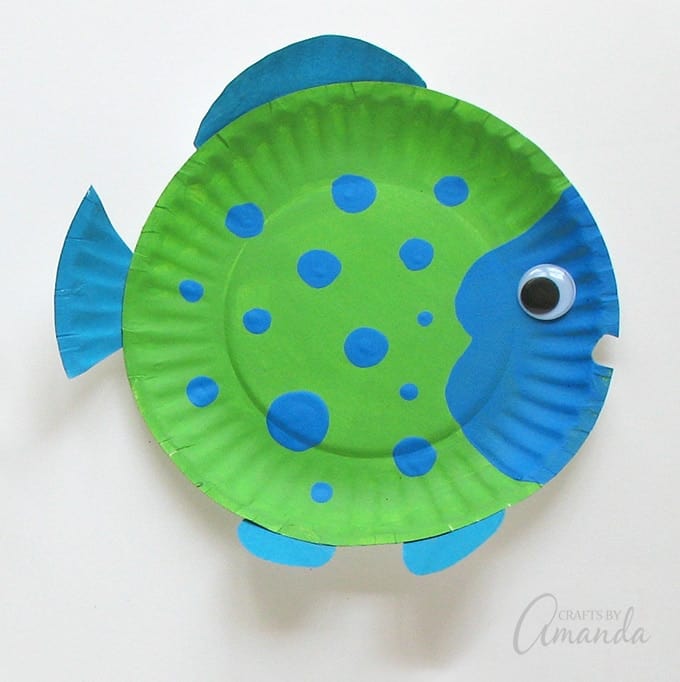


This paper plate tropical fish craft is a fun activity that brings out the creativity in kids and adults alike!
More Paper Plate Crafts
I love to create and share my projects with you! I know it’s hard to remember to come back and search, so I’ve made it easy for you with my weekly newsletter! You can subscribe for free and I’ll send you fun crafts and delicious recipes every week right to your email.
Paper Plate Tropical Fish
These paper plate tropical fish have bright, cheery and vibrant colors. There’s no doubt that your children will love making this paper plate craft!
Supplies
Supplies:
- 8 miniature paper plates
- brightly colored acrylic paints
- 4 large wiggle eyes
- white craft glue
- glue stick
- pattern 1 and pattern 2
Americana paint colors:
- Bright Orange
- Sour Apple green
- Turquoise Blue
- Ocean Blue
- Bright Yellow
- Vivid Violet
- Carousel Pink
- Black
- White
Instructions
-
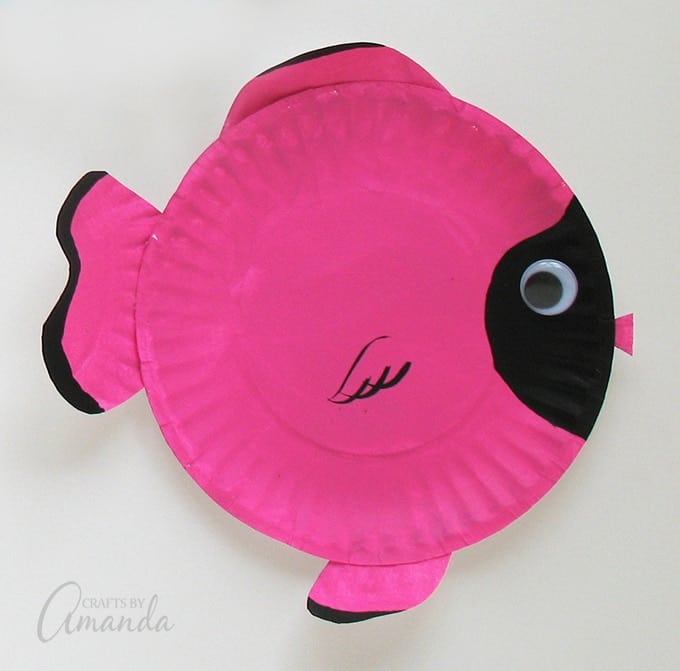
For each fish you will need two paper plates. Paint one paper plate pink, one yellow, the third one green and the fourth one orange. While those are drying, trace the patterns onto the other paper plates. Paint the pattern pieces the appropriate colors and let dry.
-
Cut the painted fish pieces out, you should be able to see your pencil lines through the paint.
-
Use a glue stick to attach the fish pieces to the appropriate plates, gluing the pieces to the back.
-
Use paint to add stripes or polka dots, decorate them however you like. Use white craft glue to attach wiggle eye.
-
Hang on your child’s bedroom wall for an instant no maintenance aquarium!
Expert Tips & FAQs
- If you prefer to hang these from the ceiling there are a few adjustments that need to be made. You could hang them as constructed above, but the back of your fish won’t be pretty, it will be an unpainted plate with glued on pieces. When hanging from the ceiling these fish will undoubtedly twirl, so to make them visually pleasing on both sides make the following adjustments: For each fish body, paint TWO plates instead of one and paint the backsides of the plates instead of the front. Paint both sides of all the fins, tails, and lips. You will need TWO wiggle eyes for each fish instead of one. Glue the fins and tails to one of the plates (the unpainted side), and add a long piece of string. Sandwich the two painted plates together, painted sides facing outward.
- Polka dots are easy to make by dipping the handle end of a paintbrush into the paint and drawing a circle with it. You can also use the pencil of an eraser or those spouncer sponges you get from the craft store


This post was originally published on this blog on March 4, 2012.


