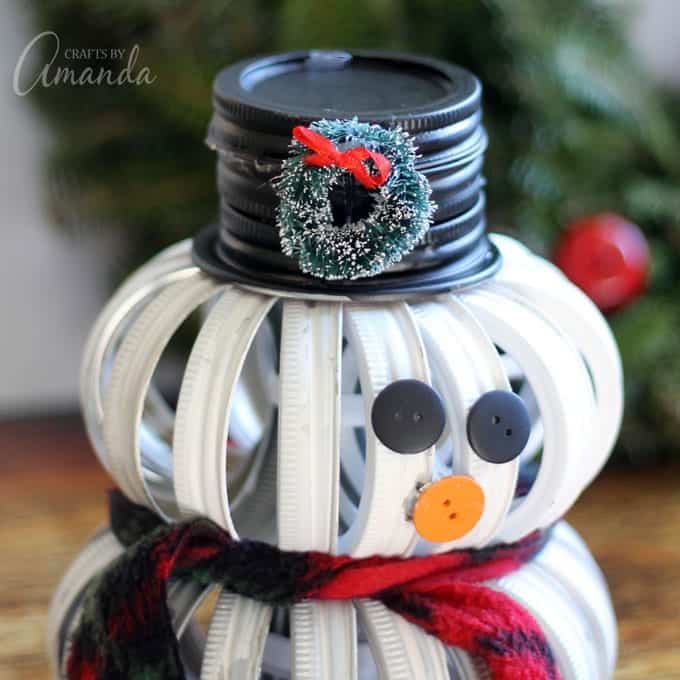
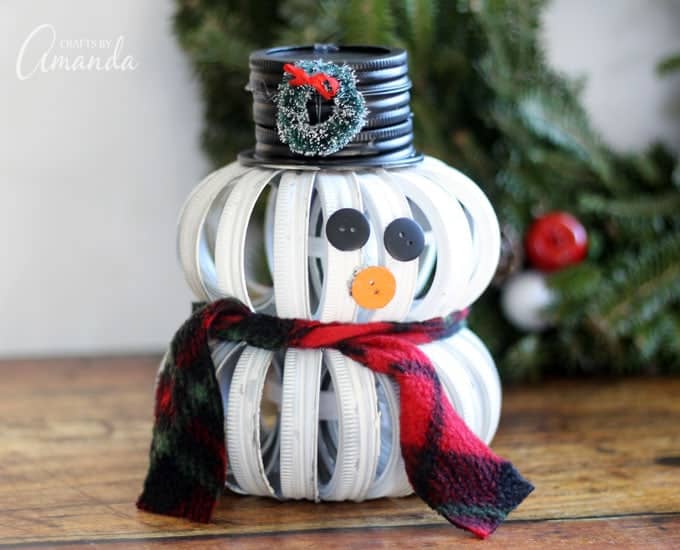
If you liked our Mason Jar Lid Pumpkins, you’ll love this adorable mason jar lid snowman! It’s a cute and unique holiday craft that is sure to be a conversation piece.

Why we love this project
If you’re feeling crafty this chilly season, this mason jar lid snowman is for you. It’s perfect for Christmas decor, as a holiday centerpiece, or even as a gift. If you don’t have piles of mason jar lids taking up space in your house, don’t worry. The inexpensive bands are available for sale separately. You may choose a three-level snowman or two-level snowman if you have fewer lids to use.
This cutie is great all winter long, not limited to just the holidays. Plus, he’s so easy to dress up with different scarves or mini decorations to match the theme of your home.


Expert Crafting Tips
- For a smaller snowman, choose 12 bands per level (either two or three “balls” of bands). You may add additional bands to each “ball” for a fuller-looking snowman.
- If you don’t have a wider lid available, use any plastic lid that’s about the same size.
- Rather than purchasing two sets of buttons, you may also paint a black button orange.


How to Make A Mason Jar Lid Snowman
These step by step photos and instructions are here to help you visualize how to make this project. Please scroll down to simply print out the instructions!
- First, spray paint your mason jar lid bands and lids. You will need at least 24 white bands if you choose to make each “ball” with 12 bands and choose to make only two.

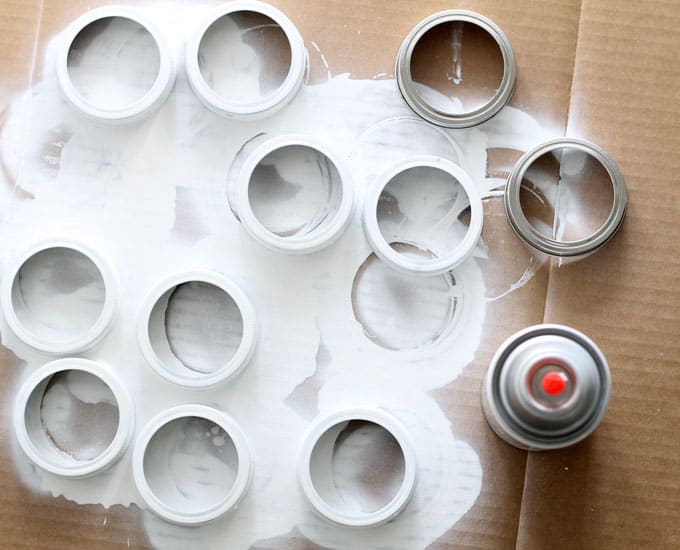


- For a fuller snowman, add a few more bands at each level. For the black hat, you will need to paint the wider lid, one regular-size lid, and three bands. Let dry completely.

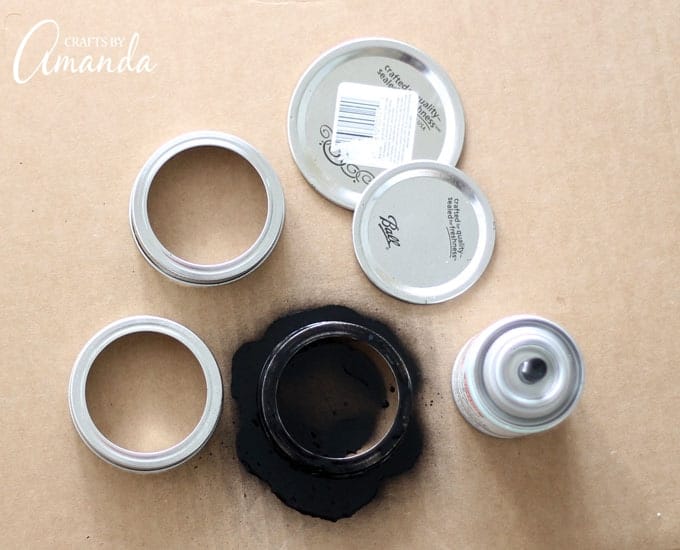


- For each level, string at least 12 white bands on a piece of twine or string (for a fuller snowman, try 15 bands). All the bands should face in the same direction.

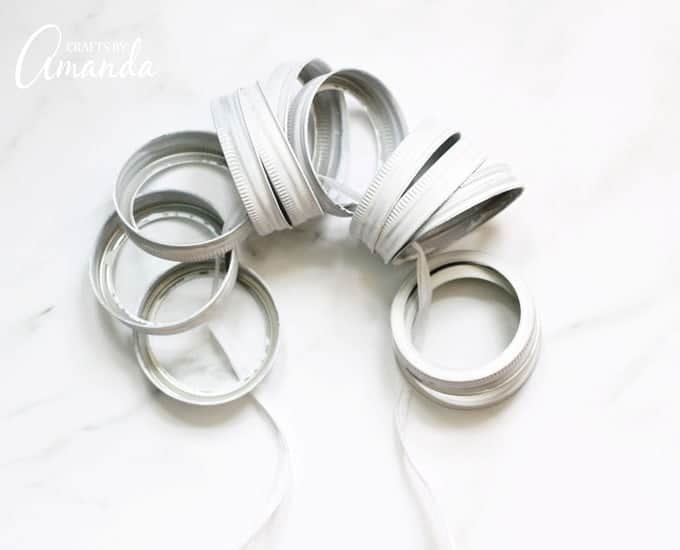


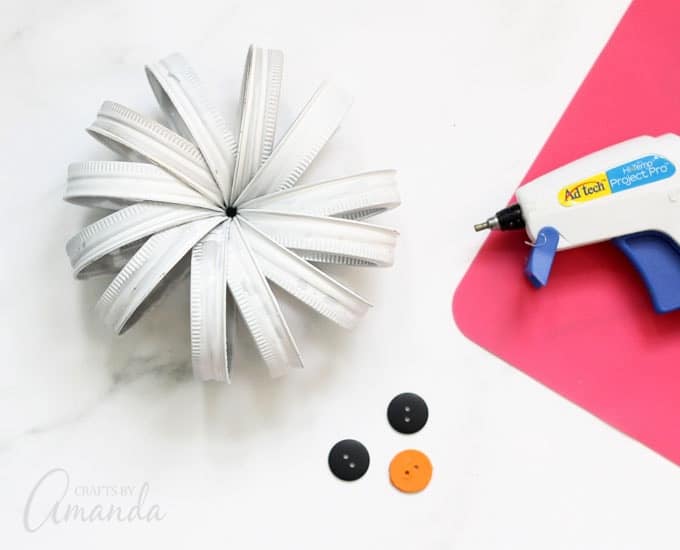
- Tightly tie a double knot and snip the ends of the string. Shuffle the bands so they are spread evenly in a circle. Hot glue the black button eyes and orange button nose to two of the bands.



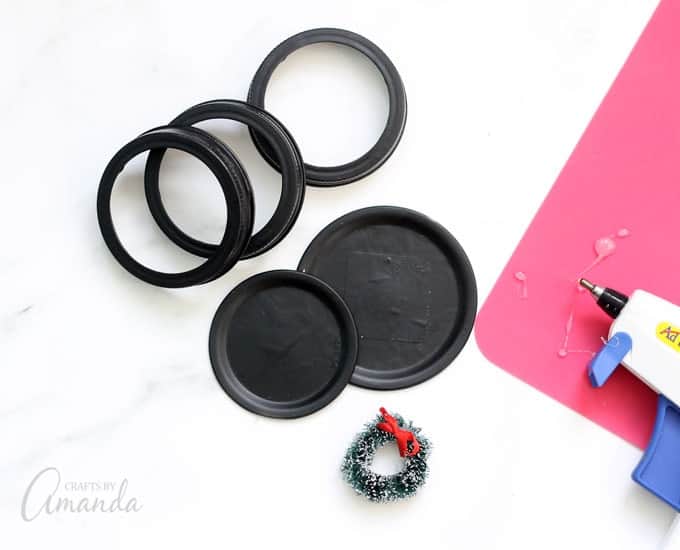
- For the hat, using a hot glue gun, glue a black, regular-size lid into a black band. Stack this band with two others using hot glue to secure. Glue the stack onto the wider black lid. Hot glue the entire hat onto one of your white band “balls.” If desired, glue a wreath, faux mini string lights, or other little decor to the hat.



- Stack the snowman head onto another ball of white bands and secure with a bit of hot glue. Add a third ball of white bands if desired. Tie a strip of felt between the top two band balls for a scarf.

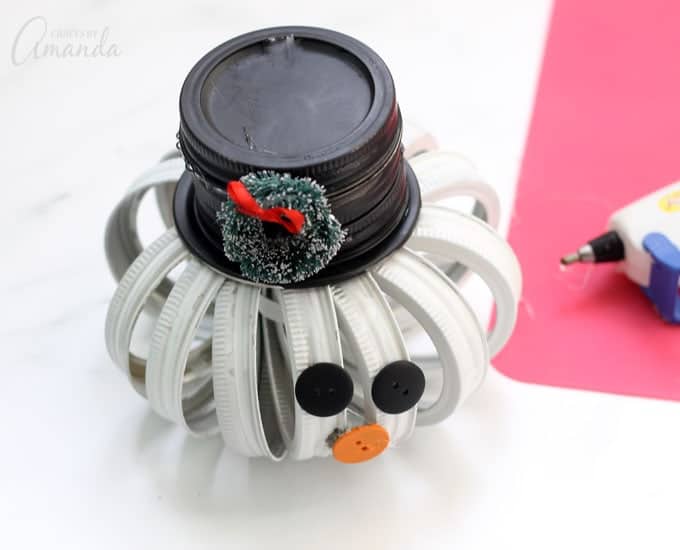


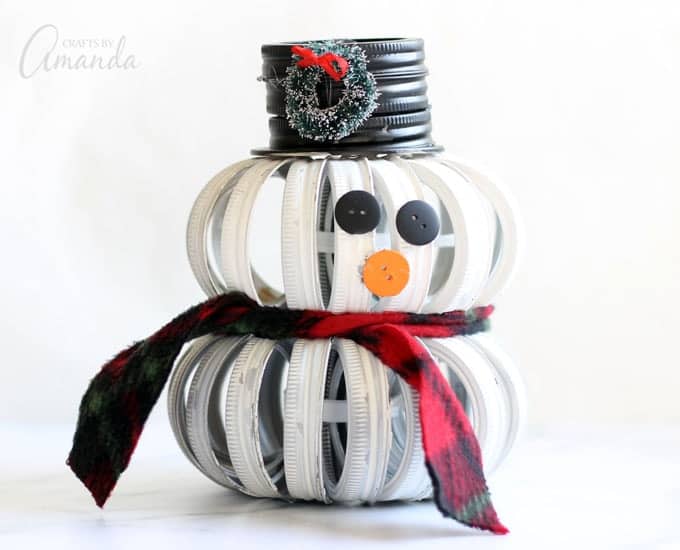


My love of mason jars has been justified by this finished fellow. It’s amazing how easily you can transform metal circles into adorable holiday decor! You can also make these felt Christmas trees to go along with your mason jar lid snowman for a cute winter scene.
More Winter and Christmas Crafts
I love to create and share my projects with you! I know it’s hard to remember to come back and search, so I’ve made it easy for you with my weekly newsletter! You can subscribe for free and I’ll send you fun crafts every week right to your email.
Mason Jar Lid Snowman
This mason jar lid snowman is an adorable holiday craft! Part rustic, part modern, it’s different from any Christmas decor you can buy in a store.
Supplies
- mason jar lid bands 27 to 50*
- regular-size mason jar lid without band
- wide-mouth mason jar lid without band**
- white spray paint
- black spray paint
- twine or string
- buttons 2 black and 1 orange***
- mini wreath or other decor for the hat optional
- strip of felt for the scarf
- *For a smaller snowman choose 12 bands per level (either two or three “balls” of bands). You may add additional bands to each “ball” for a fuller-looking snowman.
- **If you don’t have a wider lid available use any plastic lid that’s about the same size.
- ***Rather than purchasing two sets of buttons you may also paint a black button orange.
Instructions
-
First, spray paint your mason jar lid bands and lids. You will need at least 24 white bands if you choose to make each “ball” with 12 bands and choose to make only two. For a fuller snowman, add a few more bands at each level. For the black hat, you will need to paint the wider lid, one regular-size lid, and three bands. Let dry completely.
-
For each level, string at least 12 white bands on a piece of twine or string (for a fuller snowman, try 15 bands). All the bands should face in the same direction. Tightly tie a double knot and snip the ends of the string. Shuffle the bands so they are spread evenly in a circle.
-
Hot glue the black button eyes and orange button nose to two of the bands.
-
For the hat, hot glue a black, regular-size lid into a black band. Stack this band with two others using hot glue to secure. Hot glue the stack onto the wider black lid. Hot glue the entire hat onto one of your white band “balls.” If desired, glue a wreath or other little decor to the hat.
-
Stack the snowman head onto another ball of white bands and secure with a bit of hot glue. Add a third ball of white bands if desired. Tie a strip of felt between the top two band balls for a scarf.
Expert Tips & FAQs
- For a smaller snowman, choose 12 bands per level (either two or three “balls” of bands). You may add additional bands to each “ball” for a fuller-looking snowman.
- If you don’t have a wider lid available, use any plastic lid that’s about the same size.
- Rather than purchasing two sets of buttons, you may also paint a black button orange.
This post was originally published on December 8, 2017


